How to Take Perfect Apartment Photos?
A. Quality camera gear
B. Stage/frame real estate photos
- Go Wide: Landscape Shots Only
- Ditch Overheads for Cozy Lighting
- Frame Scenic Views from Indoors
- Window Views for Winning Shots
- Low Angles, Big Impact
- Keep It Straight for Strong Compositions
- Say No to Wide-Angle Distortion
- Flash Off, Natural Light On
- Uniform Lighting, Natural Vibes
- Corner Shots for Wide Perspectives
- Light, light, light.
C. Honest, Abundant, Tidy
If you’ve been looking at apartments to buy, rent out, or just spend some vacation time in, you’ve probably seen a lot of pretty bad interior photos. If the apartment looks gloomy, run-down, or hopelessly untidy, you could ask yourself, “How on earth can property owners expect to sell, rent, or short-let it?” Owner-taken photos, often carried in an attempt to save money, are frequently poorly composed, out of focus, or portray the apartment in an unsightly manner.
Even if we may think to ourselves, “Oh my god, I will never rent this apartment,” when it comes time for us to market our flats, our photos seem to be no better than the appalling ones.
Each striking and professional-looking real estate photo is a marketing factor. The images you post online frequently serve as a renter’s initial impression of your place. If viewers aren’t impressed with the photos, they’ll probably move on to look at other apartments. Each listing should have at least three to six images, ideally of a good caliber.
All of that is easier said than done, though.
So, how can you make your French apartment feel alive, and your property listing stand out? According to professional photographers, picking an angle and lighting it properly is everything.
Likewise, move around while snapping the shots. Circle the room to get the ideal angle for the shot. Take a dozen test shots from a variety of angles to see which looks best. (Maybe you’ll even have to duck in to get a better angle.)
How to Take Perfect Apartment Photos?
A. Quality camera gear
If you’re considering taking photos of your listings yourself or hiring a professional, having the right equipment makes all the difference. Before you do, consider some essentials:
1. Professional-grade camera: Mirrorless cameras and DSLRs offer image quality, higher resolution, and various advanced features that your average smartphone camera lacks.
2. Quality interchangeable lenses: Switching lenses while capturing a property provides flexibility as you move from room to room and from indoors to outdoors. Wide-angle lenses are great for showcasing the beauty of luxury properties while maintaining low distortion and excellent optical quality. Macro lenses excel at capturing intricate design elements.
3. Tripods: A tripod helps stabilize your camera, resulting in sharper photos and precise composition and framing.
4. Drones: In luxury real estate marketing, many high-end clients expect agents to use drones to capture breathtaking aerial views and stunning exterior shots of properties and landscapes.
B. Stage/frame real estate photos
Staging is a storytelling that piques the interest and imagination of potential tenants. Present the property in a way that resonates with them and makes them feel at home.
When a place is professionally staged, tenants can visualize how their daily lives might appear if they were living in your apartment. For instance:
1. Go Wide: Landscape Shots Only
Since most monitors and screens are landscape shaped, take pictures in landscape format, which is the shape of most rooms, instead of portrait.
2. Ditch Overheads for Cozy Lighting
Avoid taking pictures while the overhead lights are on. Use floor and table lamps to create ambiance.
3. Frame Scenic Views from Indoors
Take a shot from inside, looking out to catch the surrounding area, including the trees and sky.
4. Window Views for Winning Shots
When taking interior shots, the light from the windows disappears, so make sure the composition includes the window. It produces a better-looking shot.
5. Low Angles, Big Impact
Make low-angle shots. One of photography’s most important compositional rules is to take pictures from low angles. These can highlight the height of tall objects or features of low-lying ones that are not seen from above, making the apartment appear larger.
The preferred shooting angle is roughly 40 inches above the ground. When your camera is positioned below eye level, your photos will appear more like those in magazines.
6. Keep It Straight for Strong Compositions
Aim directly forward. Take a straight shot of a room for a powerful composition. Instead of tilting your camera up or down, try to set it straight. When the camera is tilted, the vertical lines in the picture are distorted, giving the image an amateurish appearance. The camera sensor needs to be parallel to the walls to accomplish this.
Make sure your images are straight by using the grid feature on your phone or camera to view both vertical and horizontal lines. The lines can also be used to check that you follow the rule of thirds, a crucial compositional principle for photography.
7. Say No to Wide-Angle Distortion
Avoid using wide-angle or fisheye lenses When taking “straight” photos, as they can distort the room’s appearance. Sure, using wide-angle lenses can capture a fuller view of the scene. However, it will distort the perspective by making close objects appear larger and distant ones smaller, leading to an unnatural look in the overall apartment setting.
8. Flash Off, Natural Light On
Switch off the flashlight. Your camera’s flash will never be sufficient to illuminate a space adequately.
9. Uniform Lighting, Natural Vibes
For a more natural look, avoid combining several lighting and temperature settings in a single photo (for example, turning off or dimming table lamps and light fixtures). Your photos will be much more natural-looking.
10. Corner Shots for Wide Perspectives
Try taking photos from the corners of rooms to offer tenants a broader point of view without relying on wide-angle lenses. When photographing a room, try to include up to two walls along with a glimpse of the ceiling and floor in each shot to create a feel of openness.
11. Light, light, light.
Light plays one of the two most essential roles in photography. Natural daylight is always ideal. It enhances spaciousness and warmth in photos, making morning or late afternoon the best time for photo shooting.
However, if you’re limited to night shots, use as much artificial light as possible. But turn off flash as it can cause glare and unnatural distortions.
C. Honest, Abundant, Tidy
12. Take Honest Property Photos
Don’t leave rooms out! Give tenants a complete idea of what to expect when they show up to see your rental.
13. Take a Ton of Photos!
The first rule of photography is that more is better. Take as many pictures as you want! This way, a prospective buyer can see every inch of space and feature within the apartment. Tenants demand to see every room and aspect of the property—including common areas—for which they will pay.
Display rooms from several angles as well, but refrain from using an excessive number of nearly identical pictures.
14. Software and editing tools
Sometimes, the element that makes a professional photographer’s portfolio look so incredible is post-production editing.
Here are some of the best tools for editing real estate photos:
- Adobe Lightroom: Loved by professionals for its ease of use and advanced features.
- Adobe Photoshop: Great for complex edits, such as removing objects, blending exposures, and advanced retouching.
- Photomatix Pro: Creates HDR images, ideal for balancing lighting in real estate photography.
- DxO PhotoLab: A user-friendly option for high-quality optical corrections.
- Luminar AI: Automates editing tasks such as sky replacements, detail enhancement, and light adjustments.
- PTGui: Stitches together panoramic images for virtual tours and 360-degree views.
- Canva: Handy for creating collages, adding text overlays, or designing social media posts.
- PicMonkey: Great for quick edits.
-
Skylum AirMagic: Designed for drone photographers looking to edit aerial photographs.
15. Hide clutter
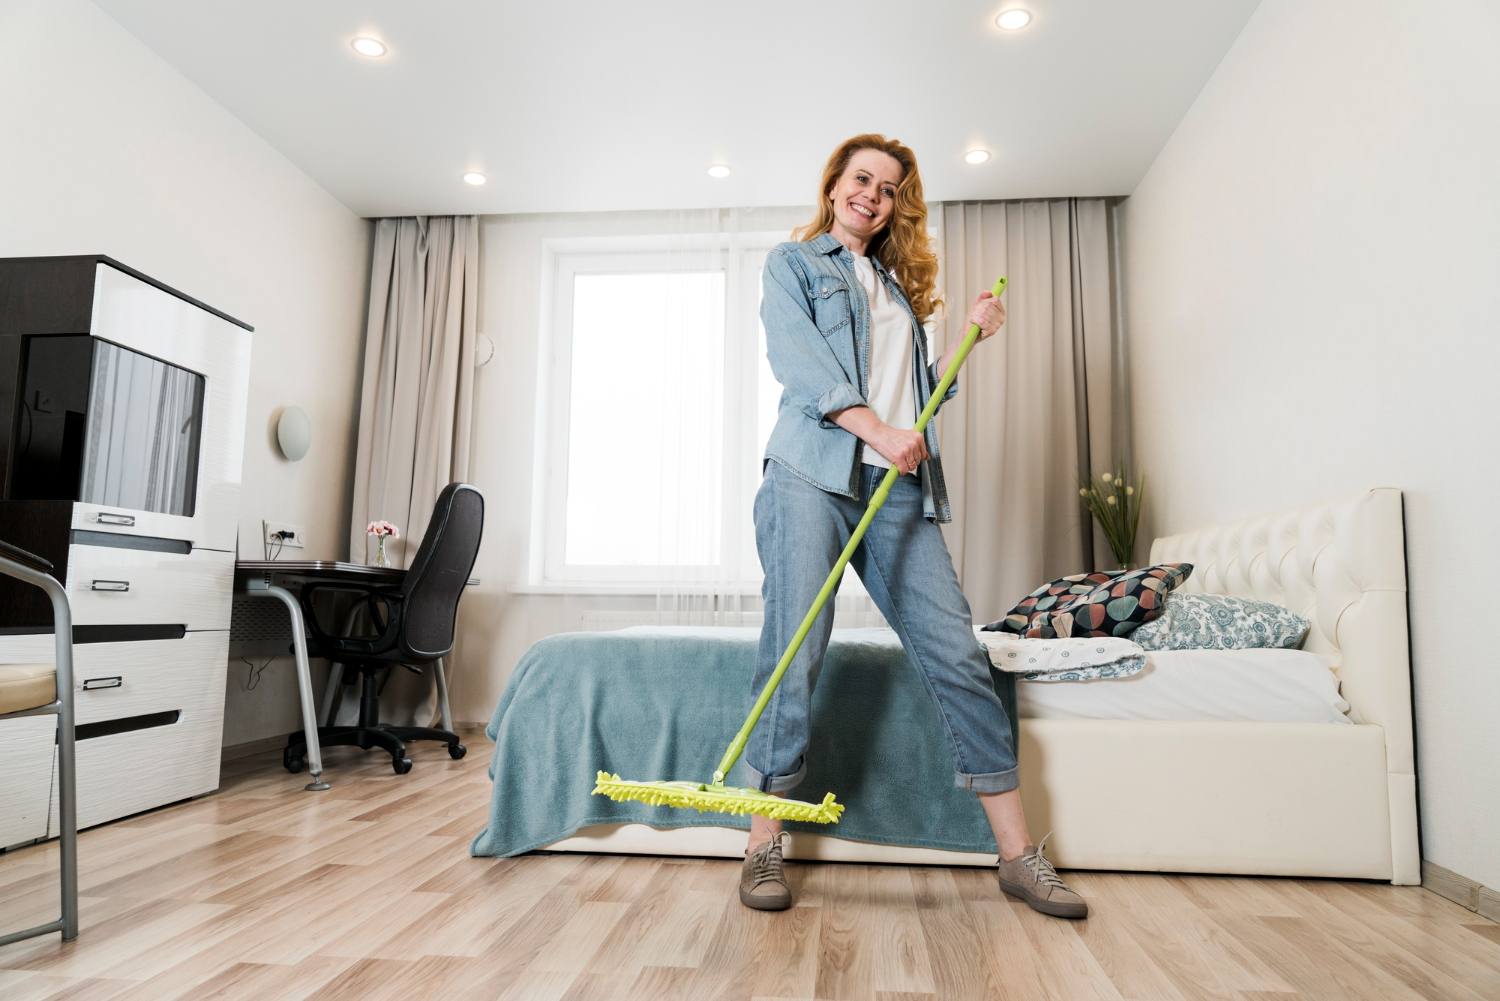
While it’s unnecessary to style your apartment as if you are making a magazine shoot, try to avoid taking pictures of clutter. The coffee table, sofa, doorway, kitchen countertops, and dining room table are typical hotspots for clutter.
You can make your home’s photos look better even if all you do is rearrange everyday objects like shoes, computers, and other clutter out of the way for the picture. Other objects to avoid are the turned-on computer, on-screen TV, and any pictures showcasing your personal info.
Don’t Shy Away From Video
Think about using your camera to record a video to accompany your listing. A prospective tenant might be more hyped about what they will get by watching a video virtual tour.
Take Advantage of Professional Photo Service
Would you rather trust professionals to take pictures of your apartment? Wunderflats landlords can hire a professional real estate photographer to take photos of their property. Once you have set up a listing on Wunderflats, you can contact us to schedule a professional photo session. All you have to do is email us at photo.manager@wunderflats.com to set up an appointment.


